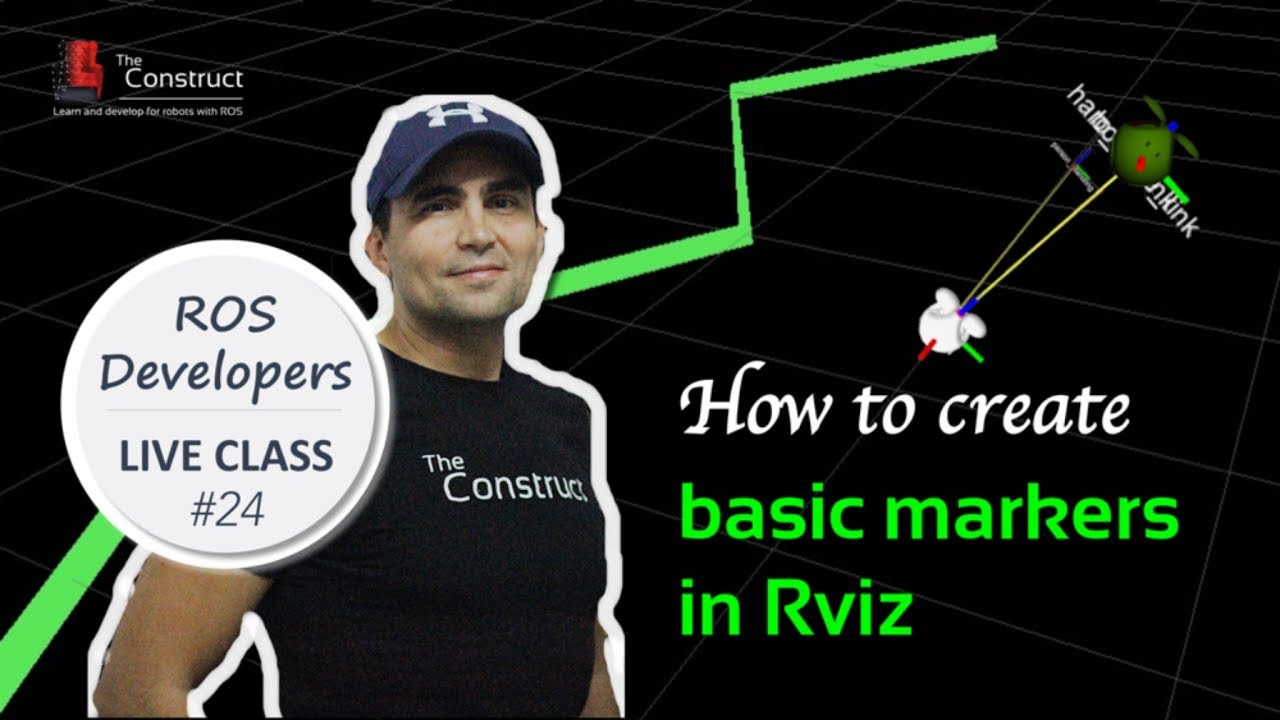
How to create basic markers in ROS Rviz Open Class

What you will learn in this Open Class
In this ROS LIVE-Class we’re going to learn how to create a marker to be displayed in ROS Rviz. Markers are special graphics that we can use in Rviz to display data generated by the robot. For example, we can create a marker that shows a person figure at the proper distance of the robot when the robot detects a person. By using markers, we can debug and understand better what the robot program is doing. Markers are basic tools for robot program debug!
We will see: ▸ How to get the information we want to display from a ROS program ▸ How to create a custom marker that contains that information ▸ How to display the marker on the Rviz ▸ How to build a mesh marker and show it on Rviz